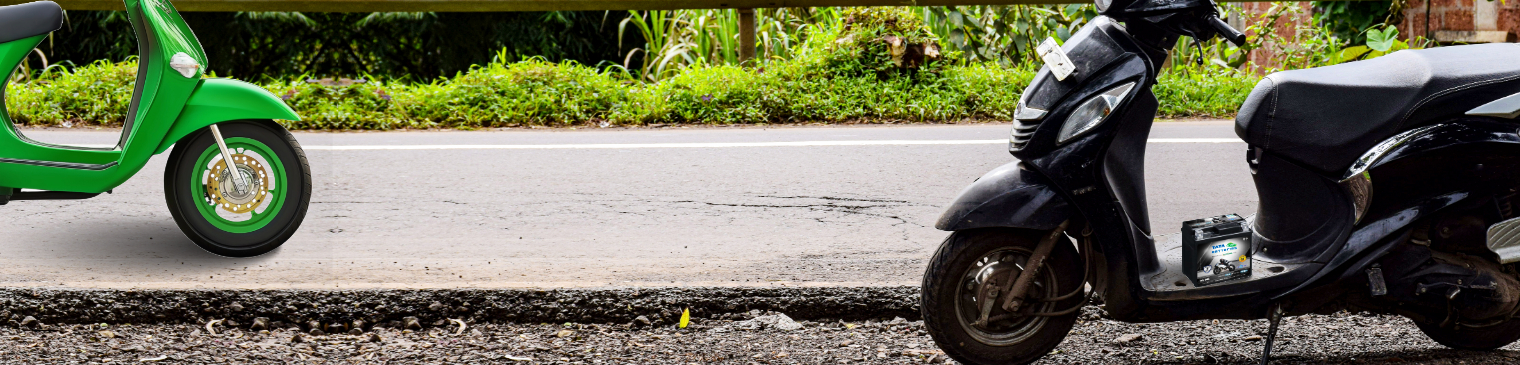
Scooters are the workhorses of city commuting. They are compact, efficient and easy to ride but like any vehicle, they depend heavily on a healthy battery. A weak or dead battery can turn a hassle-free ride into a headache. Fortunately, replacing a scooty battery is a task you can handle yourself with a little guidance and care. This DIY guide will walk you through everything you need to know from spotting the signs of battery failure to installing a new one safely.
Recognising the Need for Battery Replacement
Before jumping into replacement, make sure you actually need a new scooty battery. Here are the signs:
- Difficulty starting: If your scooty takes longer to start or doesn’t start at all, the scooty battery might be the culprit.
- Dim lights or electrical issues: Flickering lights, a weak horn or malfunctioning indicators suggest a weak battery.
- Battery age: Most scooter batteries last 2–3 years. If yours is older, it might be time for a new one.
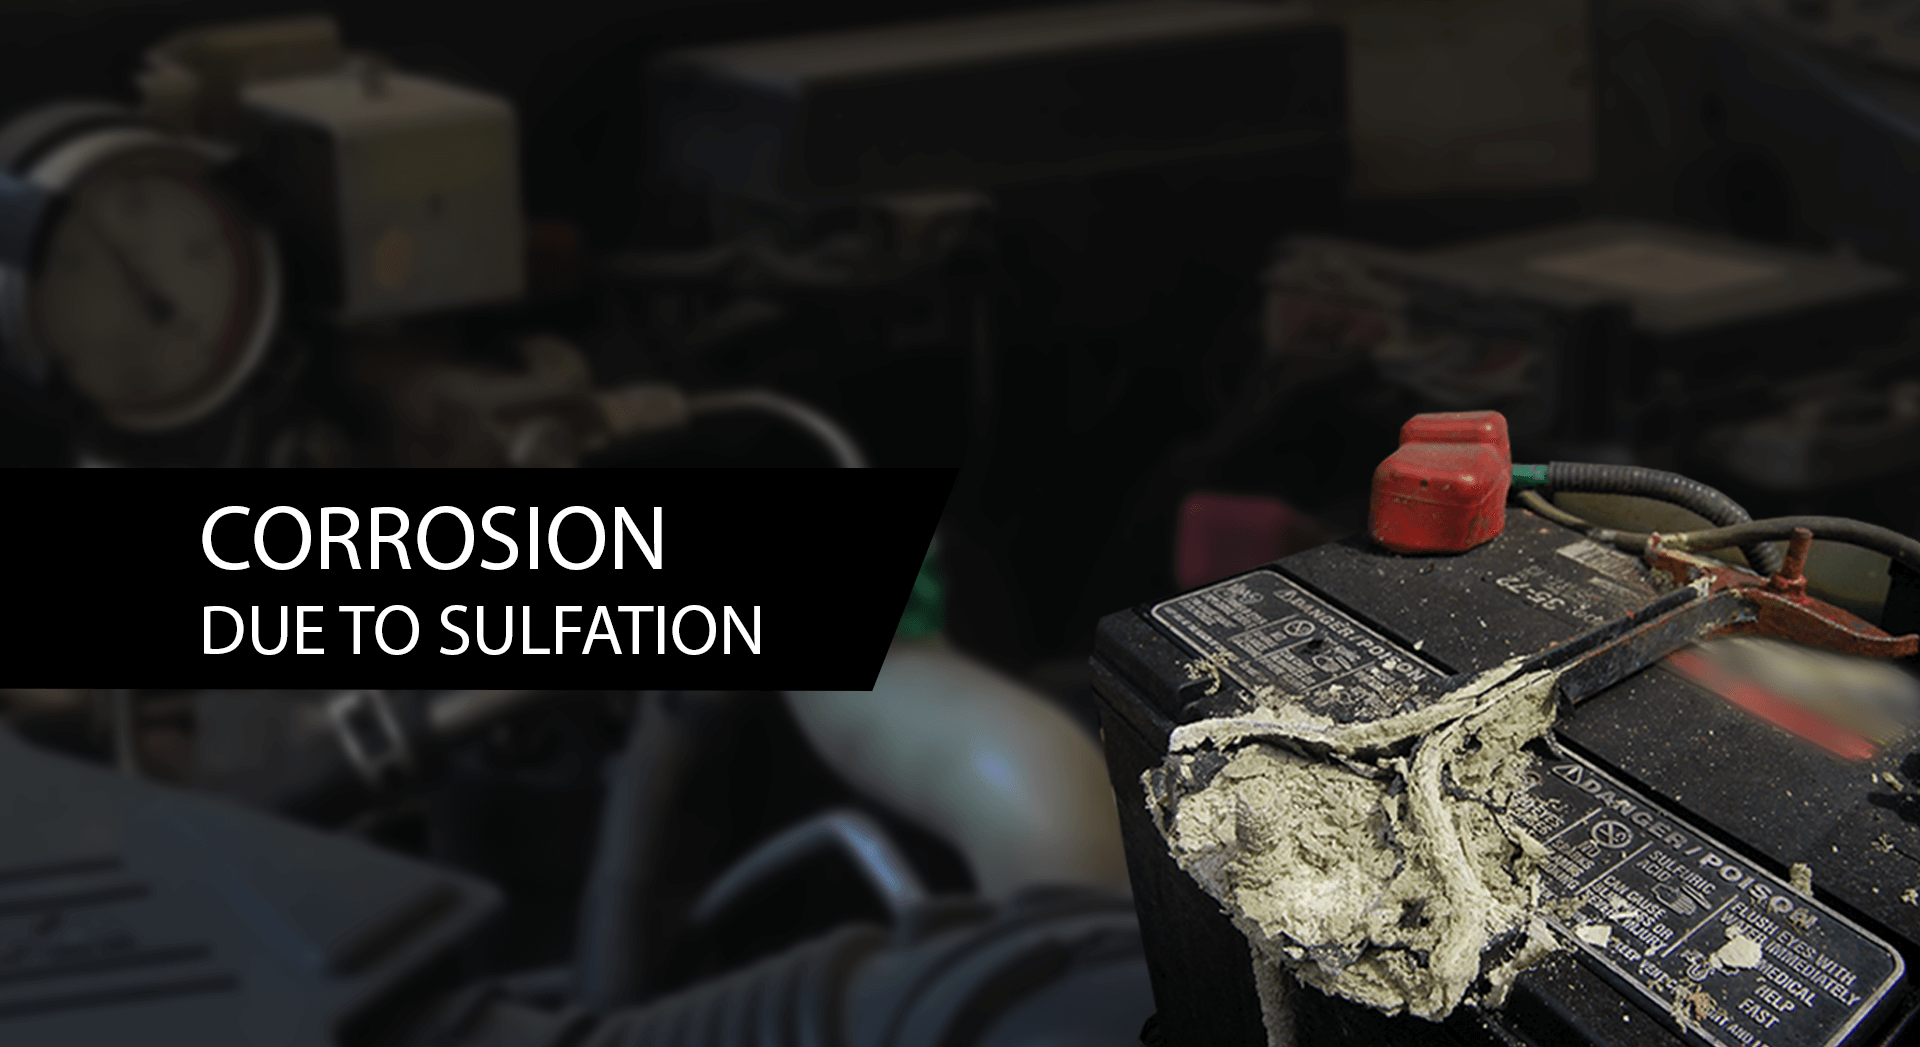
- Physical signs: Swelling, leakage or corrosion on terminals is a clear sign the battery is failing.
Step-by-Step Guide for Battery Replacement
Step 1. Delve into the Manual
Start by reading your scooter’s user manual as this is essential. Every model is a bit different, and the manual will show you the exact location of the battery, the right battery type and any special instructions or precautions.
Step 2. Pinpoint and Access the Battery
Scooty batteries are typically located under the seat, footboard or front panel. Open the panel or compartment as directed in your manual. You’ll likely need a screwdriver or small wrench. Work in a well-lit area and keep your tools close.
Step 3. Disconnect the Negative Cable First
Always start by disconnecting the negative terminal, usually marked with a minus “–” symbol or black cable. This minimises the risk of a short circuit. Loosen the bolt gently and remove the cable completely from the terminal.
Step 4. Proceed to the Positive Cable
Next, move to the positive terminal marked with a plus “+” symbol or red cable. Remove it carefully just like the negative. Make sure the cables don’t touch any metal parts while disconnected.
Step 5. Remove the Battery
Once the cables are disconnected, remove any brackets or straps securing the scooter battery. Gently lift it out of the compartment. Batteries can be heavier than they look, so you need to handle them with both hands and keep them upright to avoid spills (especially if it’s a lead-acid type).
Step 6. Integrate the New Battery
Before installing the new scooter battery, compare it to the old one to ensure it’s the same size, voltage and terminal position. If everything matches, you’re good to go. Position the new battery in the same orientation and ensure it fits snugly in the compartment.
Step 7. Reattach the Cables
Now reconnect the cables but in reverse order. Start with the positive terminal first, then move to the negative. Tighten the bolts securely, but don’t overdo it. If your battery has a vent tube, reconnect it properly.
Step 8. Validate the New Battery’s Functionality
Before reassembling the panel or seat, test the battery. Turn the key and check if the lights come on. Hit the start button and check if the engine cranks easily. If everything works as expected, the new scooty battery is functioning correctly.
Step 9. Check the Vehicle Charging System
It’s not enough for the battery to work on its own as it must also charge while the scooter runs. Check the voltage across the battery terminals while the engine is idling. A healthy system should show between 13.5V to 14.5V. If it’s lower, your alternator or voltage regulator might be faulty. If you’re unsure how to test this, ask a mechanic or use a multimeter with the help of a tutorial.
Step 10. Assemble Everything Back
Once you’re sure everything is working, close up the panel or seat securely. Make sure no wires are pinched or sticking out. Pack up your tools and wipe down any grease or grime. Dispose of the old battery responsibly—most auto parts stores or service centers will take it for recycling.
Final Tips
- Wear gloves and eye protection while handling batteries as they can leak harmful chemicals.
- Use the right battery type: Scooters usually use 12V batteries, but check your manual to be certain.
- Keep terminals clean to prevent corrosion. A dab of petroleum jelly can help protect them.
- Avoid leaving the battery unused for long periods. Start the scooty at least once a week if it’s not in regular use.
Conclusion
Replacing your scooty’s battery doesn’t have to involve a trip to the mechanic. With a few basic tools and a bit of patience, you can restore your ride’s power in under an hour. Just follow the steps, stay safe and keep your manual handy.
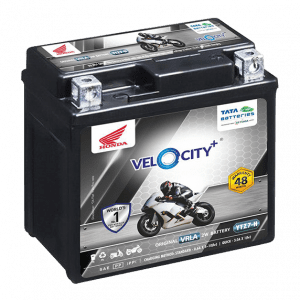
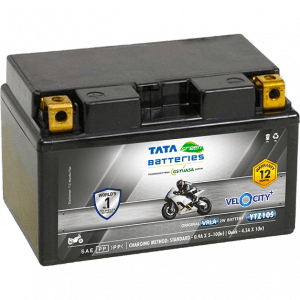
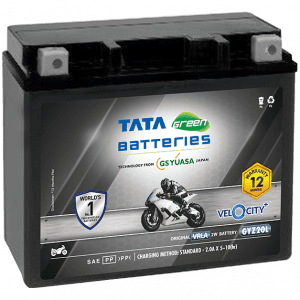
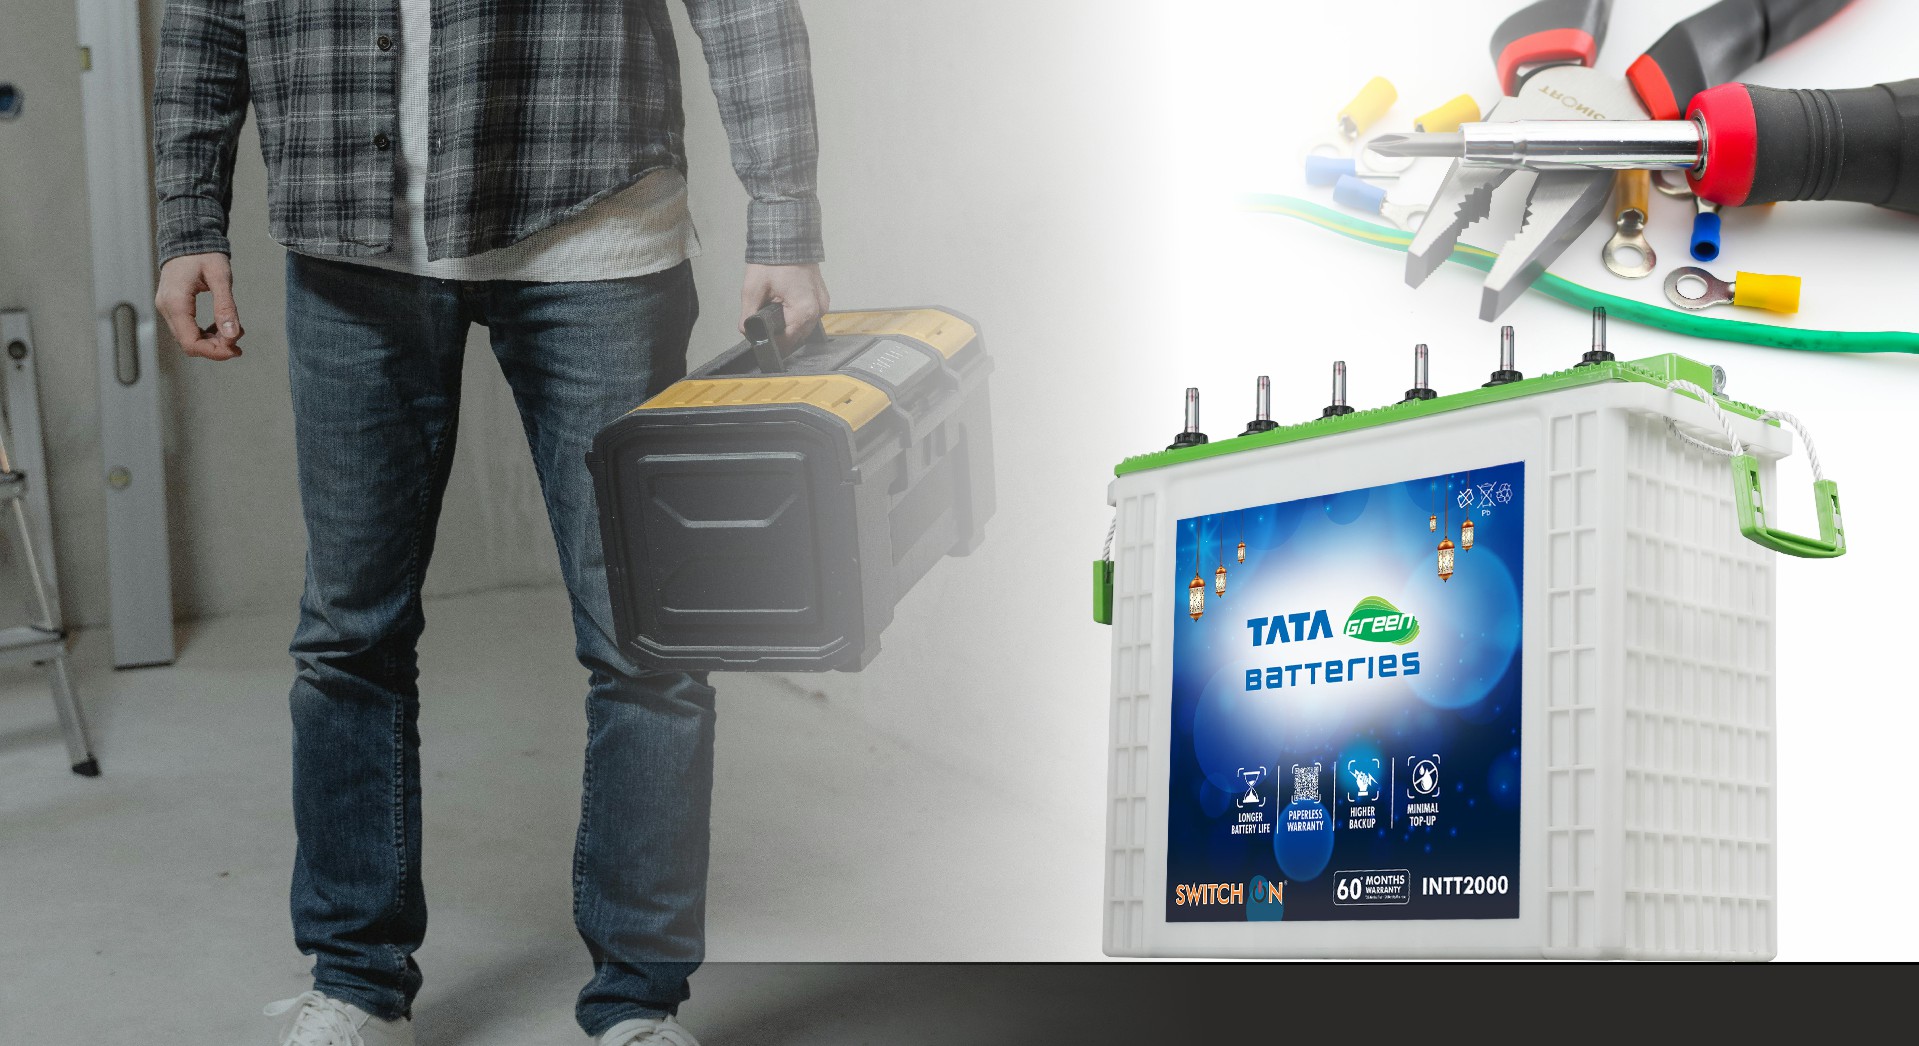
If you’re looking for a reliable two-wheeler battery replacement, Tata Green Batteries for two-wheelers is the best solution. Powered by world-class VRLA technology from GS Yuasa Japan, the No. 1 two-wheeler battery manufacturer these batteries are built for Indian roads, maintenance-free and come with trusted after-sales support.