Replacing a truck battery might sound very difficult. However, it is something you can do yourself if you follow the right steps. Whether you are dealing with a weak battery or need a replacement after years of use, understanding the safe way to remove and install a truck battery can save you time and money. This guide walks you through the process in simple steps, ensuring you avoid mistakes that can damage your truck or put your safety at risk.
-
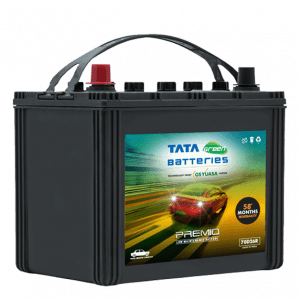
Spot the Positive and Negative Terminals
Every battery has two main points of connection: the positive and negative terminals. You can usually identify the positive terminal by a plus sign (+) and a red cable, while the negative one has a minus sign (–) and a black cable. It’s important to know the terminals correctly because the sequence in which you connect or disconnect them matters. Mixing them up could cause sparks or even damage your truck’s electrical system.
-
Start with the Negative Terminal Bolt
Before handling the cables, take a spanner or wrench and gently loosen the bolt that holds the negative terminal in place. This step is crucial because it ensures that no current flows while you work on the battery. If your tool comes into contact with any metal parts of the truck, you run the risk of causing a short circuit if you begin with the positive terminal. Think of this as switching off the power supply before working on any electrical appliance.
-
Remove the Negative Cable Safely
Once the bolt is loose, carefully slide the negative cable off the terminal and keep it aside. Make sure it doesn’t touch the positive terminal or any metal surface. A good tip is to tuck it away with a cloth or secure it, so it stays out of the way. Removing the negative cable first prevents any accidental sparks while you handle the rest of the connections.
-
Next, Loosen the Positive Terminal Bolt
Now move on to the positive terminal. Just like you did before, use your tool to loosen the bolt. The positive side carries the active charge, so handle it carefully. Always remember that since the negative cable is already disconnected, the risk of sparking is much lower at this stage.
-
Take Off the Positive Cable
Once the bolt is loose, slide the positive cable out of its clamp. Set it aside, away from the battery. At this point, both terminals are free. The battery is disconnected from the truck’s electrical system.
-
Lift and Remove the Old Battery
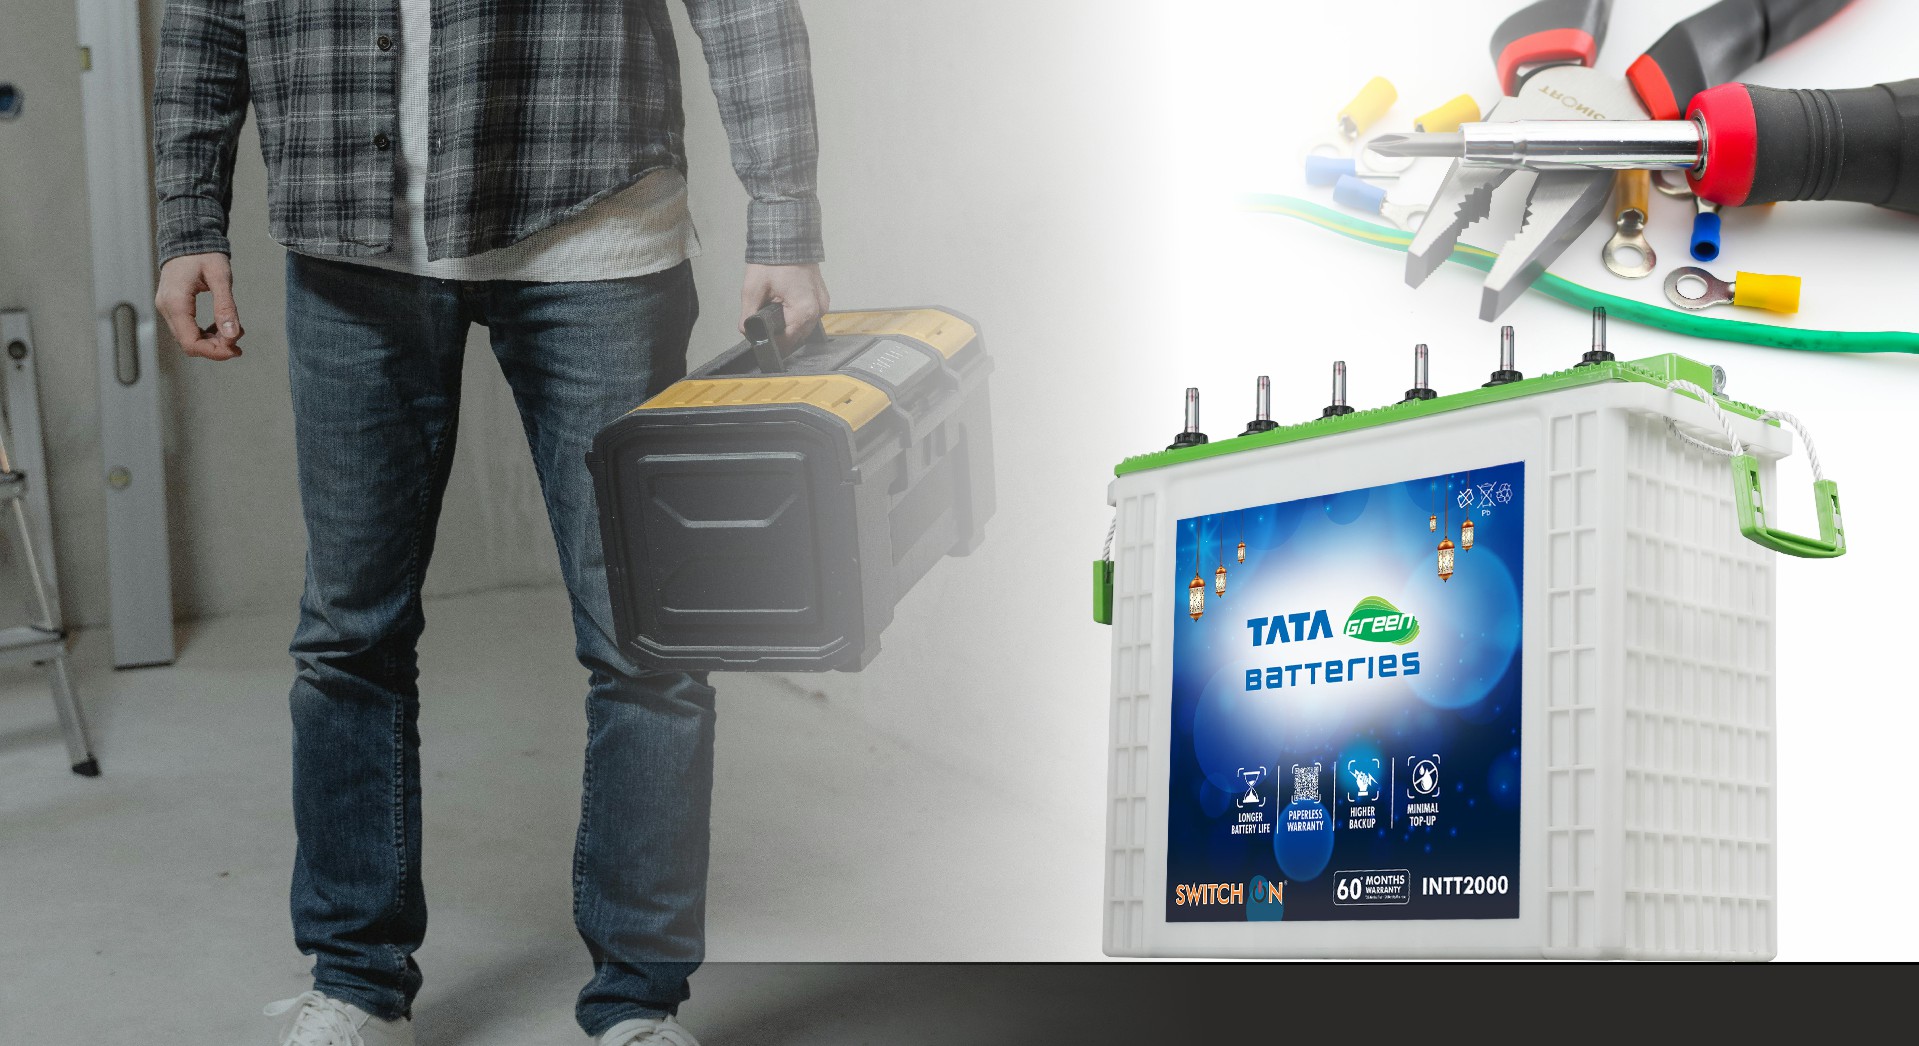
Truck batteries are usually heavier than car batteries, so make sure you use both hands and maintain a steady grip while lifting them. Some batteries come with a handle to make this easier. Place the battery on a flat, safe surface away from direct sunlight or heat. Do not tilt or drop it, as batteries contain acid that can be harmful if leaked.
-
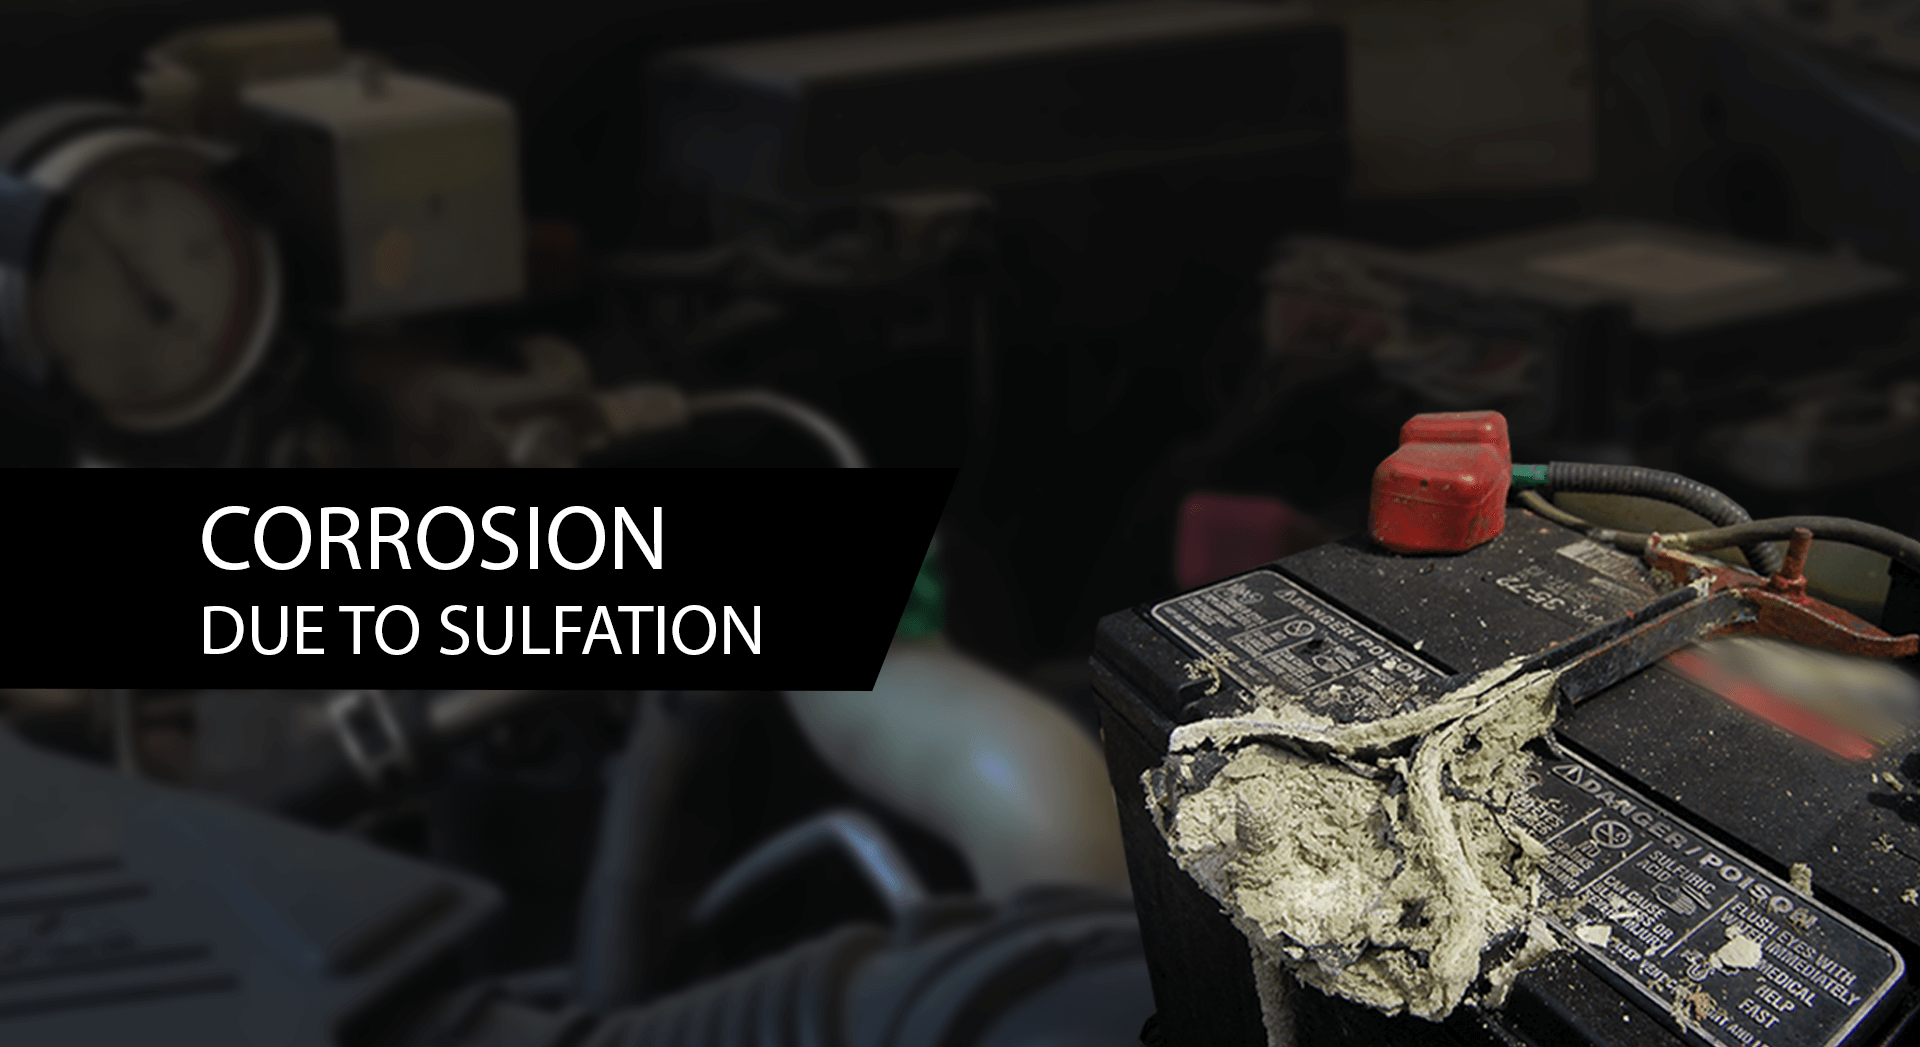
Give the Terminal Clamps a Quick Clean
Before you install the new battery, take a look at the clamps that were connected to the terminals. Over time, dust, dirt and corrosion can build up, making the connection weak. Use a dry cloth or a small wire brush to clean them. This ensures a firm and clean connection, which improves the overall performance of your new battery.
-
Set the New Battery in Place
Carefully place the new battery in the same cradle where the old one was seated. Make sure it sits firmly and does not wobble. A loose battery can vibrate while driving, which could damage both the battery and your truck’s electrical parts. Double-check that the positive and negative terminals are on the correct sides before you proceed to connect the cables.
-
Check the Health of the Electrical System
Before reconnecting the cables, it’s a good idea to check if your truck’s starter, alternator and voltage regulation are working properly. A failing alternator or weak starter motor could put extra load on your new battery, reducing its lifespan. If you notice slow cranking, dim lights or irregular starting even after changing the battery, it may be worth getting the electrical system inspected by a mechanic.
-
Connect Positive First, Then Negative
When installing the new battery, the order of connecting cables is the reverse of removal. Start by connecting the positive cable to the positive terminal and tightening the bolt firmly. After that, attach the negative cable to the negative terminal. This order ensures the safest way of restoring power to the truck. Once both are secure, give them a gentle tug to check they are tightly fixed.
Final Checks Before You Drive Off
With the new battery in place, try starting the truck. The engine should crank smoothly. All electrical systems, such as lights and indicators, should function correctly. If everything runs fine, close the bonnet securely and you’re ready to hit the road.
Safety Tips to Keep in Mind
- Always wear gloves and safety glasses when handling a battery.
- Never smoke or light a flame near a battery, as it can release flammable gases.
- If you ever feel unsure about the process, seek professional help instead of taking risks.
- Dispose of the old battery responsibly. Most service stations accept used batteries for recycling.
Conclusion
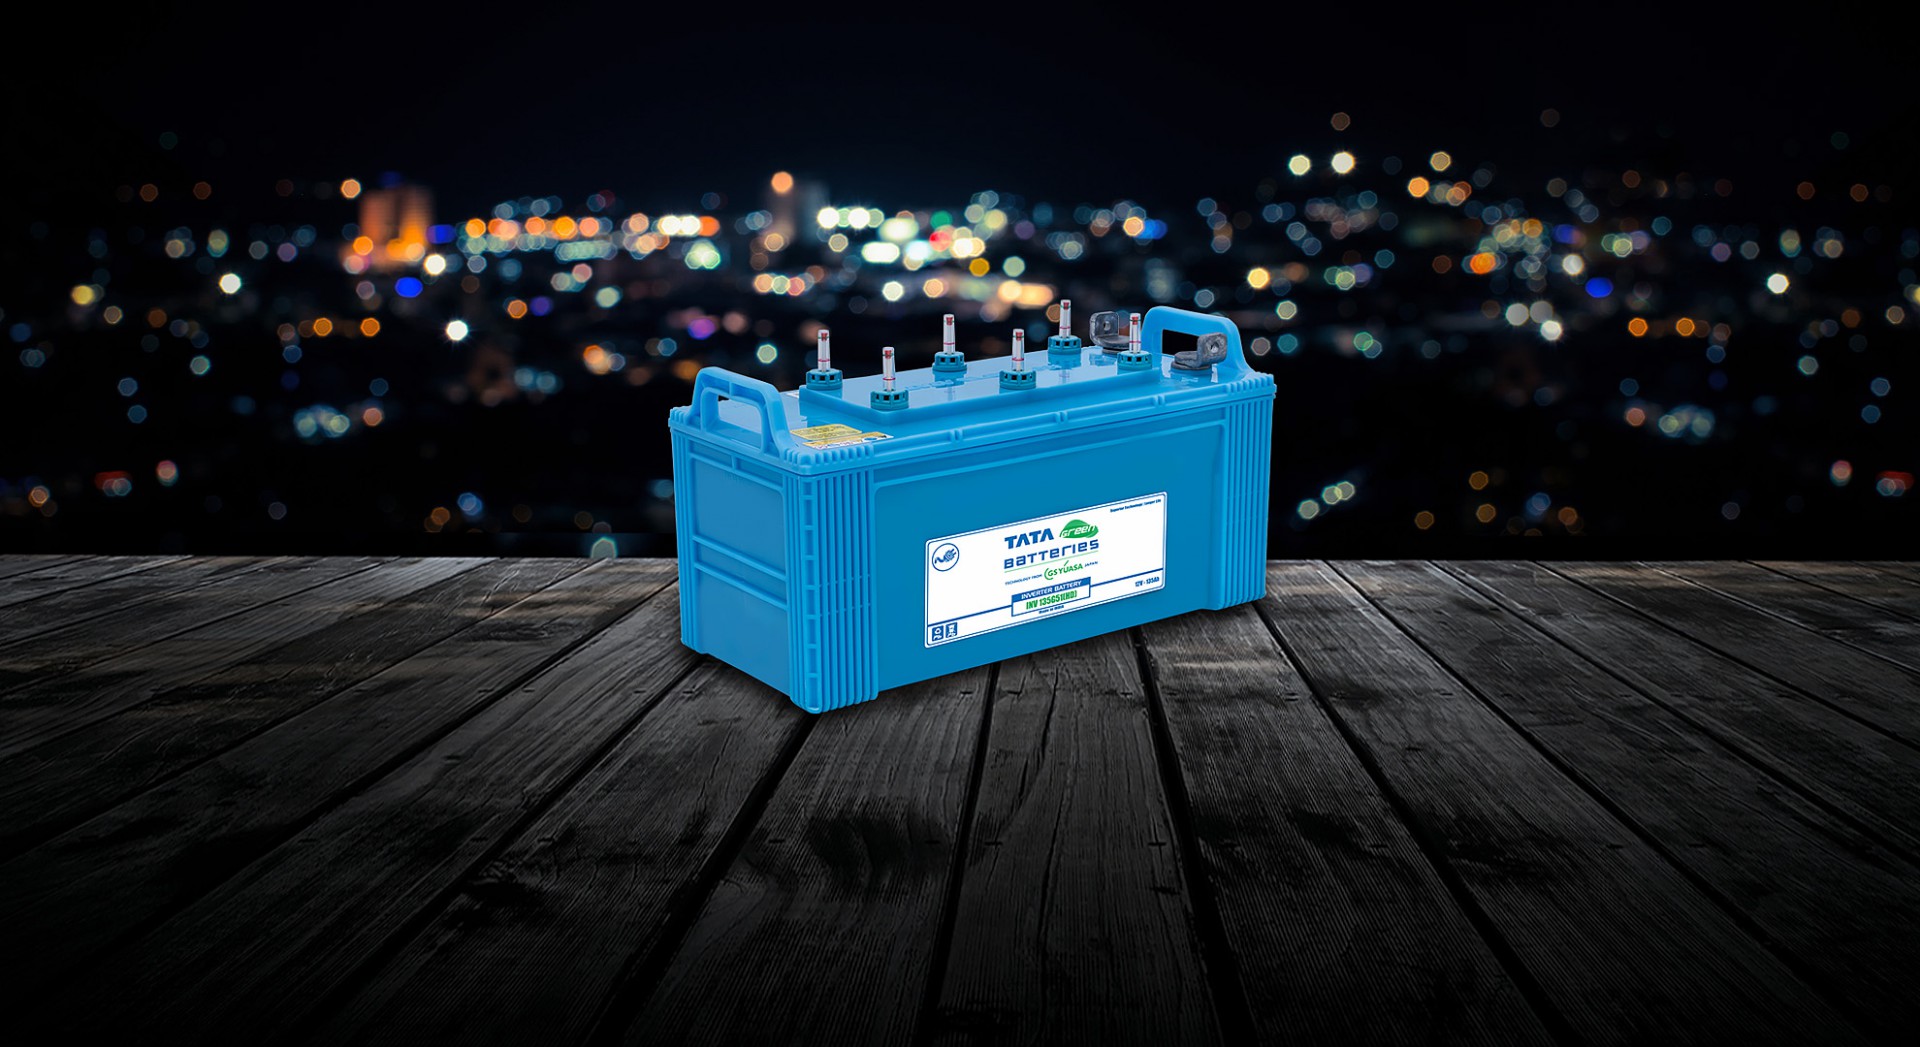
Replacing a truck battery is not as complicated as it seems. Still, it does require attention to detail and safety. By disconnecting and connecting the cables in the right order and ensuring the terminals are clean and secure, you can install a new battery with confidence. If you want reliability and long-lasting performance, trusted options like Tata Green Batteries are widely chosen by truck owners across India.
With these steps, you’ll not only save time but also learn a handy skill that can get you back on the road quickly whenever your truck battery needs replacing.