Replacing your car battery might seem like a job for the mechanic, but with the right tools, safety precautions, and guidance, it’s something you can do confidently at home.
Tools You’ll Need
Before you begin, gather the following items to ensure a smooth and safe installation:
- Safety goggles and gloves – Protect yourself from battery acid and electrical sparks.
- Adjustable wrench – For loosening and tightening terminal connections.
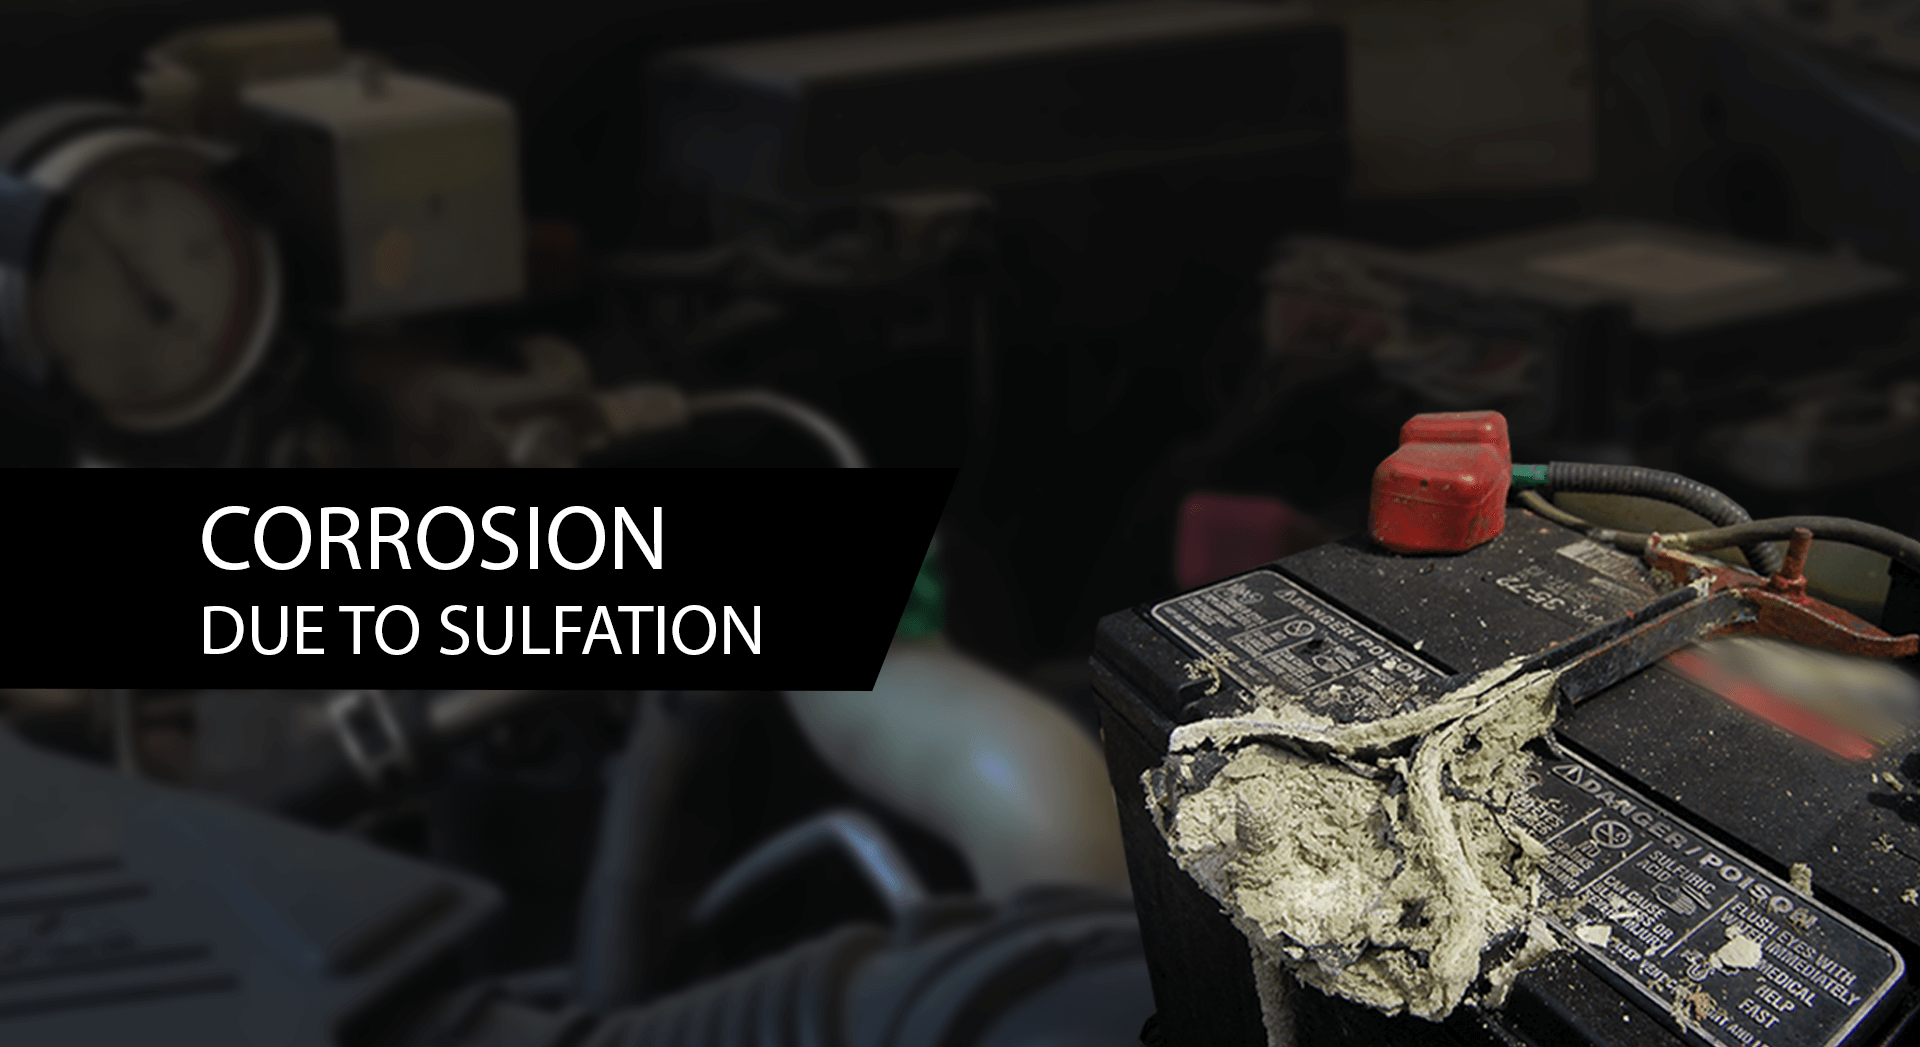
- Wire brush or terminal cleaner – To remove corrosion from cable ends and terminals.
- Petroleum jelly – Helps prevent corrosion on new terminal connections.
- Baking soda + water – A simple and effective cleaning solution for the battery tray.
- Owner’s manual – Refer to it for battery specifications, placement, and wiring instructions.
Safety First: What You Must Know
Working with car batteries involves handling corrosive chemicals and electrical components. Always follow these precautions:
- Park your vehicle on a flat, stable surface, switch off the engine, remove the key, and engage the handbrake.
- Avoid flames, sparks, or smoking near the battery hydrogen gas from batteries is highly flammable.
- Wear gloves and goggles battery acid can cause serious injury.
- Never touch both terminals at once or bridge them with a metal tool this could cause a dangerous short circuit.
Installation Steps

Step 1: Locate and Identify
Identify the positive terminal (marked red or with a +) and the negative terminal (marked black or with a -). Confirm terminal positions before proceeding.
Step 2: Remove the Old Battery
Start by disconnecting the negative terminal first, as this reduces the risk of sparks. Then disconnect the positive terminal.
Remove any clamps or brackets holding the battery in place. Carefully lift out the battery it may be heavy.
Dispose of the old battery responsibly at a certified recycling or auto service center.
Step 3: Clean the Battery Tray
Mix baking soda with water and use a brush to clean the tray and terminal connectors. This neutralizes any remaining battery acid.
Dry the tray thoroughly to avoid moisture buildup under the new battery.
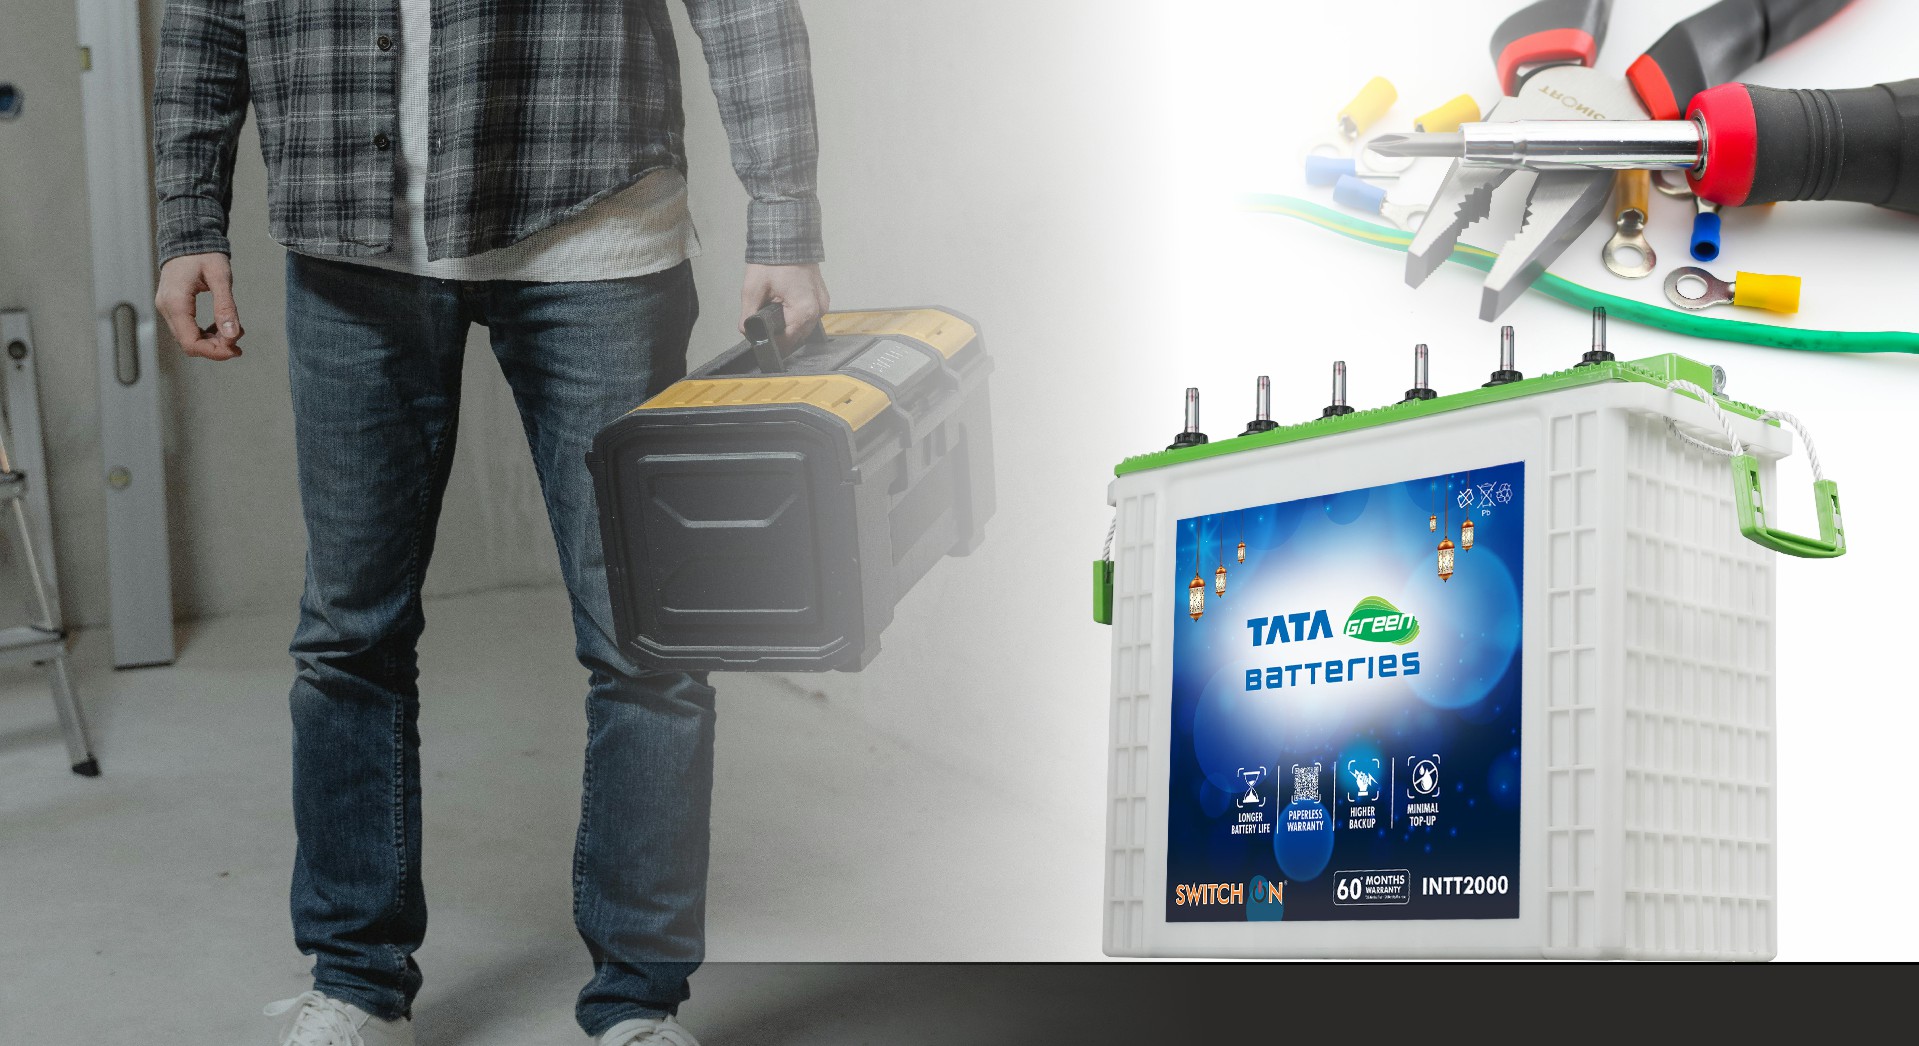
Step 4: Install the New Battery
Place the new battery in the tray, ensuring the terminals match the correct sides.
Secure it with the bracket or clamp.
If the battery has a vent hose, connect it as per instructions in the manual to allow safe venting of gases.
Step 5: Reconnect Cables (Order Matters)
Reconnect the positive terminal first, followed by the negative terminal.
Apply a small amount of petroleum jelly on both terminals to help prevent corrosion over time.
Step 6: Final Check
- Double-check all terminal connections for tightness.
- Remove any tools or cleaning materials from the engine bay.
- Start the engine to test that everything is working properly.
If the vehicle starts smoothly and the electrical systems are functioning, your installation is a success.
Pro Tip
Always refer to your vehicle’s owner’s manual to confirm the correct battery specifications and placement. Using the wrong type of battery can affect performance or even damage your vehicle’s electrical system.